How to Install a Power Inverter in Your Truck?
Technology has gained root in different sectors in the market. Most people like spending time out of their homes. They find it hard carrying essential appliances they require to help them perform different tasks. With the invention of power inverters, individuals enjoy increasing electronics to run while on the road.
Power inverters are useful gadgets for not only truckers but also salespeople. Moreover, they also form the means of lifesaver gadgets while camping or on any road trip. But do you have limelight about how to install power inverters in trucks? Let’s look into the installation process of these gadgets herein.
How to Install a Power Inverters in Your Truck
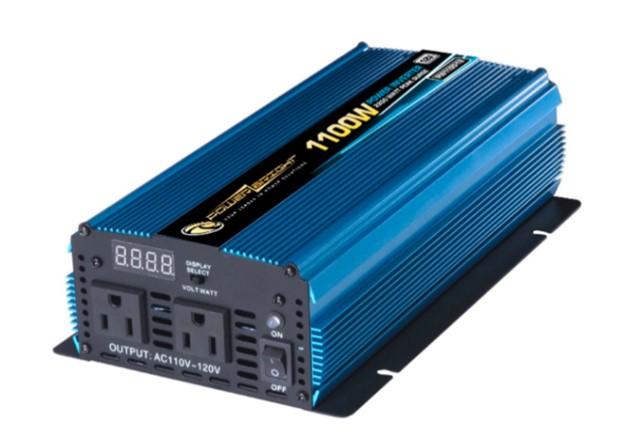
Image Source: generatorgeek.com
Installing power inverters is somehow complicated, especially for people lacking an idea of how to do it. However, with little insight from professionals, they're nothing impossible. When intending to install a power inverter, some things make the process simple. First, you need to spend your time gathering the project necessities. Consequently, get a professional guide to get you informed on what to do till the end. The guide below will help inverter owners how to install these units effectively.
Prior Preparations
Proper plans are everything to a successful power inverter installation process. This task has a lot of complexity, and therefore there is a need to plan for it beforehand. Early plans also prevent an installer from making messes like breaking cables as well as other equipment. Before the D-day, ensure you have sufficient information about power inverters and all the project necessities.
Once you purchase your inverter, ensure you store it in a dry room. Also, ensure you place the unit in a properly ventilated room as well as somewhere easy to access. The best storage for such a unit is somewhere closest to the truck battery box. Moreover, ensure that the cable’s path between batteries and the unit has no hindrance. Throughout the time, ensure you have information about the units and settle anything that might cause damages.
Drilling or Making Cable Holes
Before drilling holes, get out all rugs and mats on the area you plan to work on. On the D-day, drill or cut enough holes where cables will pass. Ensure wires pass through easily through the drilled holes. Manufacturer manuals have all information about the size of holes you need to drill. Drilled holes need protection from grazing; therefore, line them using rubber grommets to prevent such a happening.
Laying the Cables
After completing drilling holes, it’s now time to lay the wires. Typically, inverter batteries support a lot of currents. In this part, you require a professional who has the idea of doing such a project successfully. Professionals also have specialized tools to do such a task compared to if you did it alone.
Fixing the Fuse Block
Power inverter manufacturers design these units with safety systems inside. However, they still insist on fixing a fuse to provide additional inverter protection. Fixing the fuse is done on the positive DC cable.
Manufacturers pack their packages with fuses customers will mount in the inverter battery boxes. However, some packages usually lack these components. In case you intend to purchase them separately, ensure you get something that handles the inverter sufficiently. Ensure there is an adequate connection of cables by leaving enough space when setting holders.
Mounting the Inverter
Now, this is a sensitive part. Before mounting the unit, ensure there is proper ventilation in the space you are working from. Remove the rugs, mats, and other padding so that we have sufficient circulation of air. Here you also require boring holes where you will mount the unit. Power inverter manufacturers ship their packages with kits that help customers to drill holes. However, if the components lack in your package, get homemade templates to drill holes.
When things get ready, connecting wires will proceed. Use corrosion-proof screws to fix the wires and cables into place. Before installing the unit box, ensure you protect it with a firm shield. Most installers prefer using aluminum sheets to provide the unit additional protection against damage. Lastly, you should ensure there is proper ventilation where you install the unit. Therefore, leave enough space around to allow for adequate circulation.
Linking the Power Inverter to the Power Receptacle Shore
Most inverters come with power receptacles. Linking this component requires you to find a place without a wheel splay. The place must also be accessible from the main floor. When mounting the receptacle, ensure you’re extra careful. Use the manual to connect cables from the inverter to the receptacle correctly. After the connection, seal the cables and wires with an excellent sealant.
Creating Connection Between the Remote and System
After installing the inverter, you need to identify the best place to situate your remote. Mostly, manufacturers recommend placing them in the sleeper since this is where you will occupy. Worry less about where you will put the switch since the sleeper’s control panel has enough for it. For any of your connections, ensure you have properly sealed naked wires. Use a split-poly loom to wrap submerged wires to reduce cases of abrasion with metal parts in your connection here.
Complete the Connection
Lastly, you will link up all cables to your power inverter. As usual, employ the manufacturer manual to accomplish the project. Look for the wires you might have forgotten connecting and fix them to their places. Ensure you properly hook up the inverter battery in the process. For this, manufacturers recommend beginning your connection with the positive cables. After completing, protect naked or submerged wires. Moreover, secure the entire system using plastic ties.
Conclusion
Any form of installation might turn complex if you don’t follow a professional guide. The project can as well turn complicated when the right tools aren’t in place for use. Our article above is a professional guide about the installation process of a power inverter. Ensure you protect your unit after completing a connection to continue serving you longer.
More to Read:


Previous Posts: